If you ever need to migrate work items from one Azure DevOps instance to another then you are possibly looking at a mountain of manual work. Alas, we are developers and we should be able to automate the task of moving work items from one Azure DevOps instance to another. Thankfully, Microsoft has a robust tool called WiMigrator that is available on GitHub that can help with moving work items from one Azure DevOps project to another Azure DevOps project.
The README for WiMigrator is thorough and there is also a helpful video you can watch. This blog posts provides a detailed migration guide that you can use to help with planning a work item migration.
Building the WiMigrator Tool
- Clone the Git repository
git clone git@github.com:microsoft/vsts-work-item-migrator.git - Open a command prompt. Navigate to the cloned folder.
dotnet restoredotnet buildcd .\WiMigrator\bin\Debug\netcoreapp2.0\- Create your configuration file that will contain all the settings for you migration.
cp .\sample-configuration.json .\configuration.json - You will call the validate command via:
dotnet .\WiMigrator.dll --validate .\configuration.json - You will call the migrate command via:
dotnet .\WiMigrator.dll --migrate .\configuration.json
Migration Guide
- Create a query in the source Azure DevOps Boards that contains all of the work items you want to migrate in the queries result set. Updated the “query” section in the configuration.json file to the named query you previously created.
- Manually create the Iterations in the target organization’s project that are used by the work items that will be migrated. The tool doesn’t currently automatically migrate Iterations.
- Manually create the Areas in the target organization’s project that are used by the work items that will be migrated. The tool doesn’t currently automatically migrate Areas.
- NOTE: If work items in the source project has an iteration or area that doesn’t exist in the target project the work item will fail to be migrated.
- Create a PAT( Personal Access Token ) in the source organization that has the rights:
- Work Items – Read, write, & manage ( my testing showed this was enough… your mileage may vary)
- Create a PAT in the target organization that has “Full access”
- Update the “source-connection” settings in your configuration.json file you created in the previous build steps:
- Update account, project, and access-token information
- Update the “target-connection” settings in your configuration.json file you created in the previous build steps:
- Update account, project, and access-token information
- Open a command prompt and be sure to navigate to the folder with the build output.
cd .\WiMigrator\bin\Debug\netcoreapp2.0\ - Run the migrator with the validation flag set.
dotnet .\WiMigrator.dll --validate .\configuration.json - Assuming all validation passes then run the actual migration.
dotnet .\WiMigrator.dll --migrate .\configuration.json - Verify all the work items were migrated properly in the target organization’s project. By default, all of the migrated work items will have tag of “6F078B6C-2A96-453B-A7C3-EACE6E63BB97”, so you can run a query that finds all work items with that tag to easily show migrated items. The tag “6F078…” is configurable in configuration.json.
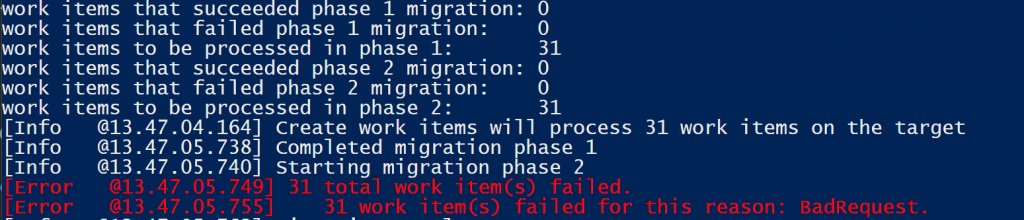
Troubleshooting Tips
If you run into a migration issue you may only see “BadRequest” on the screen. To get detailed error messages, check the log file that is generated in the same folder as the WiMigrator.dll file.